Installing WordPress on localhost is the first thing you need to do to learn WordPress. Even you should install WordPress on localhost to develop WordPress themes and plugins. It’s not wise to work on your server always. Many developers prefer to work on a local computer and then migrate their websites to a live server. To run WordPress locally on a windows PC, you have to install it in the first place.
If you haven’t installed WordPress on your local computer yet, we will walk you every step in this article. Just follow along. In this tutorial today, we will show you how to install WordPress locally on windows computer.
How to Install WordPress Locally on Windows Computer
Being written in PHP, WordPress requires an environment to run. You can never install WordPress locally or anywhere without having an environment. So, how do you create such an environment? Don’t panic. For Windows computers, there’s a software named XAMPP that creates the environment. You need to install XAMPP on your local computer before you install WordPress on localhost. We will show you how.
But first, let’s know what XAMPP is.
What is XAMPP?
XAMPP is an abbreviation. Each of its letters stands for different words. Such as, X stands for Cross-Platform, A stands for Apache, M stands for MYSQL, and the P stands for PHP and another P stands for Perl. It is one of the widely used cross-platform web servers that allows you to create a local webserver. The XAMPP is developed by Apache Friends and an open-source package that is incredibly easy to use for all level of users.
Now, let’s install WordPress in just 5 easy steps.
Step 1. Install XAMPP on Your Computer
Download XAMPP from Apache Friends (a non-profit project to promote the Apache web server and home to the XAMPP project). Run the downloaded executable file and follow the instruction it says.
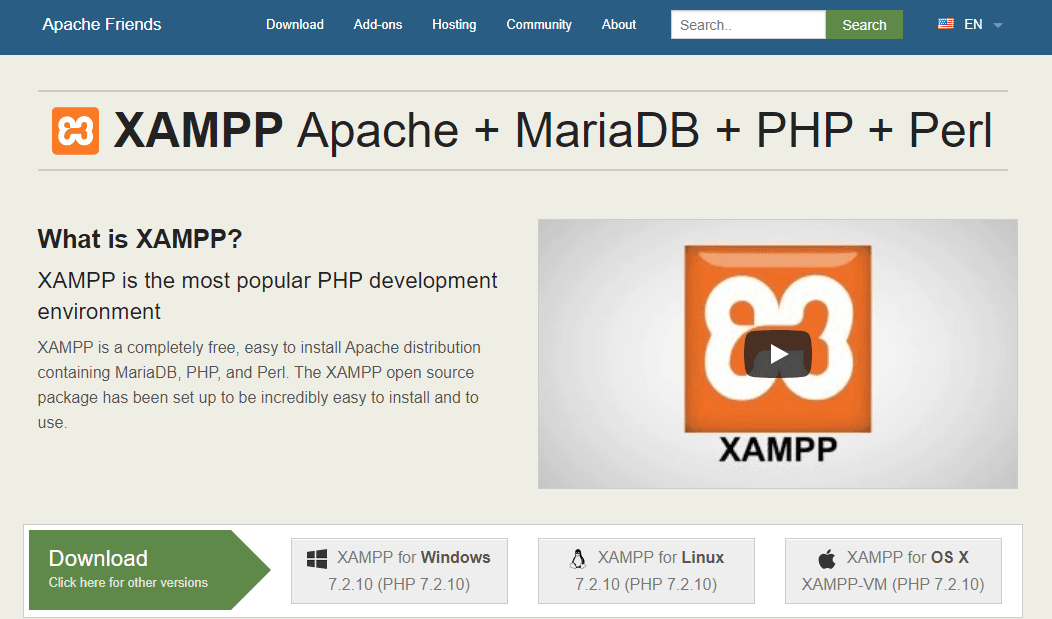
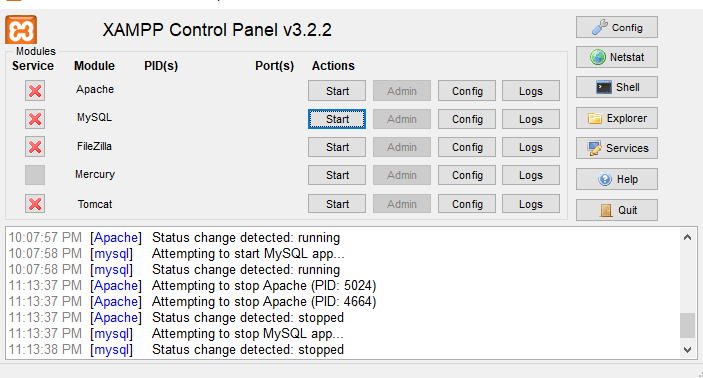
XAMPP will be installed immediately. Once you are done with the XAMPP installation you need to run XAMPP and start Apache and MySQL port as WordPress requires both of them.
Step 2. Create a Database
After starting Apache and MySQL port, go to localhost/phpmyadmin to create a database. Click “New” on the left. Give your database a name then hit the create button. Once your database is created, you have nothing else to do here.

Step 3. Download WordPress
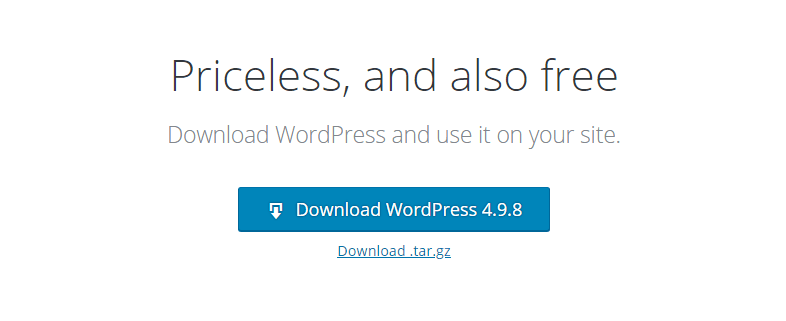
Download WordPress from the official WordPress website. Once downloaded, unpack the zipped file. You can rename it with whatever you like or keep it as WordPress.
Step 4. Install and Configure WordPress
Now, go to XAMPP’s directory and find “htdocs” folder. Paste unzipped WordPress file there. It’s time to configure WordPress.
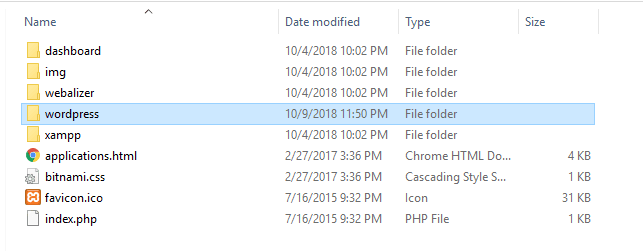
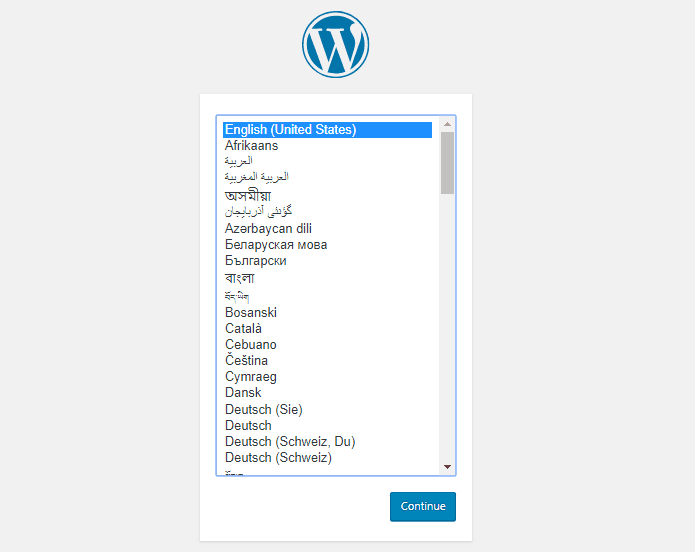
Go to your browser and type localhost/wordpress (can be different if you have renamed the unzipped file). Now select a language and click “Continue”.
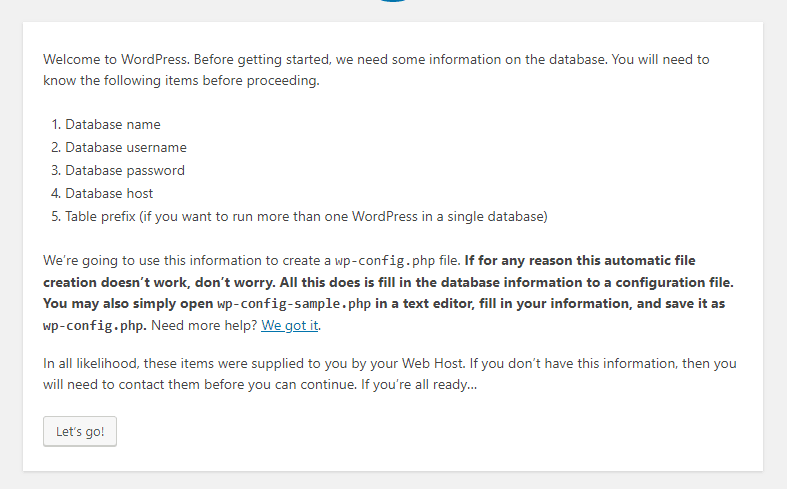
The following page reminds you of some information you will need later. Click “Let’s go!” at the bottom.
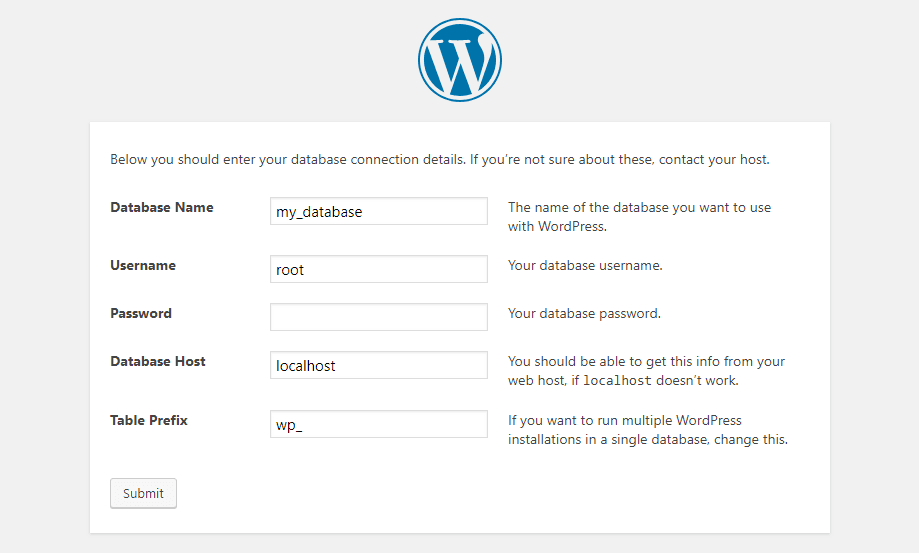
Now place your database name here. Give “root” as Username and leave Password blank. Click “Submit” button at the bottom.
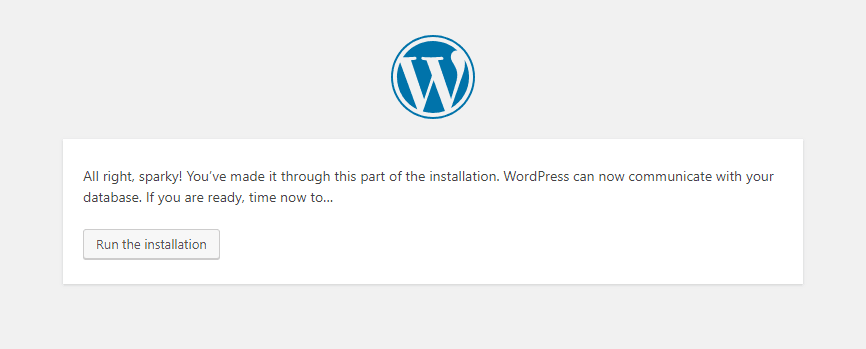
Now click “Run the installation ” on the next page.
Step 5. Give Admin Information to Complete the Installation
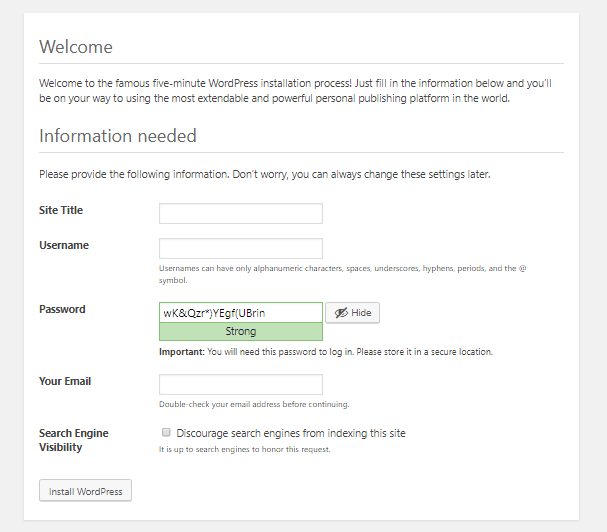
Now you are on the verge of completing WordPress installation on your local computer server. Just fill out the form with all the required information. Click “Install WordPress”.
If you have given all information correctly you are redirected to the installation success page asking you to login with Username and Password.

You have to run WordPress locally for many reasons. You can not do that without installing WordPress on localhost. If you are using a Windows computer, this tutorial will help you with the WordPress installation.
Hopefully, you have successfully installed WordPress locally on your Windows computer. For more such tutorials and WordPress guidelines, do visit Virfice regularly. Anyone struggling to install WordPress locally on Windows PC can follow this step-by-step guide.

