MailChimp is one of the giant email marketing services. But there are many reasons to leave MailChimp and go for an alternative. MailerLite is one of the best MailChimp alternatives to try. If you want to switch from MailChimp to MailerLite, we will show you step-by-step guidelines here.
MailerLite is a powerful yet affordable email marketing automation tool to grow your email lists and convert visitors to customers. Whether you are selling digital products, and services, or growing your audience for a different purpose, MailerLite is a rich email marketing tool for that.
If you have been trying a different email automation tool like MailChimp, you need detailed instructions to switch from MailChimp to MailerLite. Our tutorial will walk you through the process in some easy steps. Let’s dive in.
How to Switch From MailChimp to MailerLite
Want to switch from MailChimp to MailerLite? We will make things easy for you. Let’s follow each of the steps below to make the migration from MailChimp to MailerLite smoother.
Step 1: Create a MailerLite Account
First of all, you have to create a MailerLite account and get it approved. Please follow this link to create an account and get your account approved easily.
Create a MailerLite account in 3 easy steps: Complete your Registration => Complete Your Profile => Request for Approval.
Step 2: Request for Account Approval
When you have completed your profile you can request account approval. Click on “Request Approval”
Now select “I would like to verify my website” as a verification method and place your website link in the box below. Click “Next “once done.
Verify your website ownership on the very next page by placing an email address with your website domain name.
Click “Next” and you will be asked to check the confirmation link in the given email address. Check your mail and click on the link.
Step 3: Navigate to Subscribers
Once you have created a MailerLite account and got approval from the MailerLite authority, you have to log in to your account and navigate to subscribe on the dashboard. Click on “Add Subscribers”
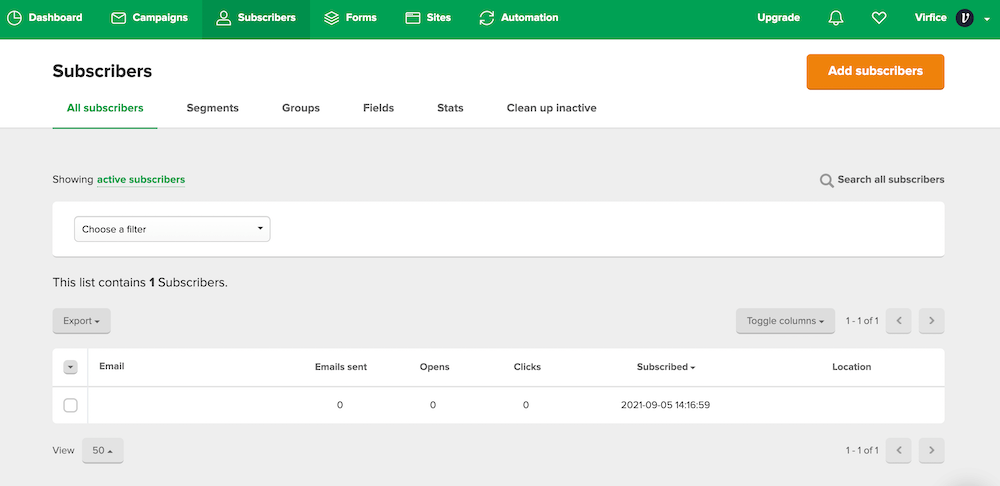
Step 4: Import Subscribers From Mailchimp to MailerLite
Select “Import from MailChimp” as a subscriber import method on the next page.
Click “Connect” then login to your MailChimp account. Allow MailerLite to access your MailChimp Account
Now checkmark on the MailChimp lists you want to import and click on the “Import” button

Click on “Finish Importing Subscribers” at the bottom.
Subscribers will be imported after a bit of loading. Once done click on “Return to Subscribers” to check what has been imported.
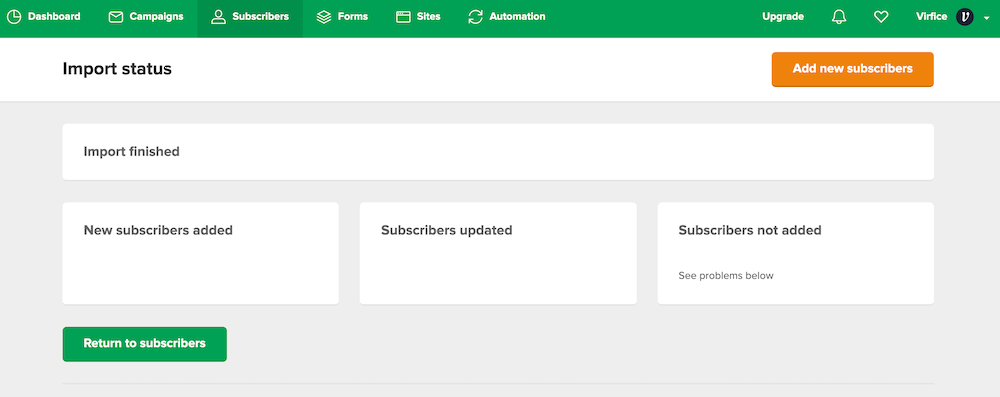
Congratulations. You have successfully switched from MailChimp to MailerLite.
MailerLite is one of the best MailChimp alternatives to switch to. It has so many features to run your email marketing campaigns and boost conversions. If you want to take email marketing beyond the inbox with advanced tools and enjoy award-winning live 24/7 support along with all the rich features, MailerLite is the way to go.
MailerLite is an easy-to-use, affordable, and highly rich email marketing tool to run email marketing campaigns easily. Read more on email marketing on our blog.


We installed Mailchimp Plugin Please guide me on which is the best Mailchimp or mailerlite?
Both plugin has many features and best in their own ways. You have to compare and find it yourself. We would put MailerLite ahead of MailChimp due to ease of uses.